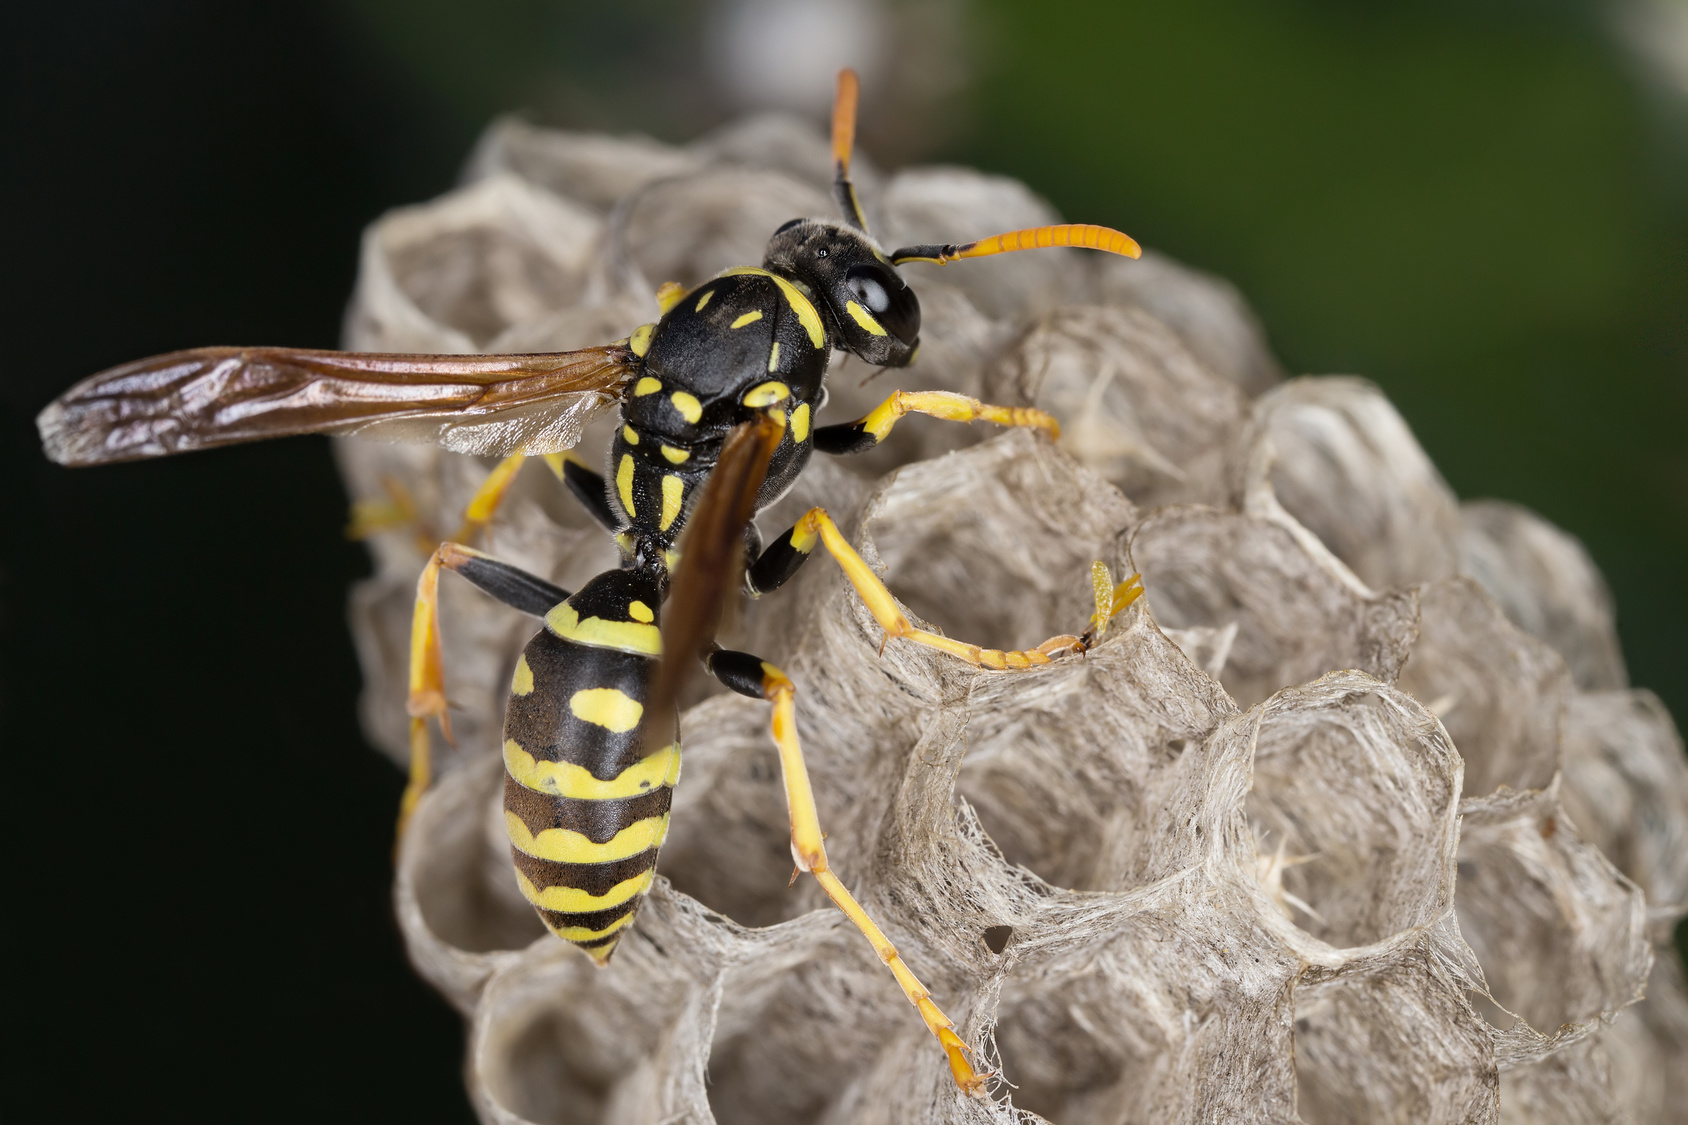
Did you ever get stung by a wasp or a bee as a child? Then you probably know how painful and dangerous these bugs might be.
Then you probably know how painful and dangerous these bugs might be.
If you find a wasp nest on your property, you’ll need to be careful. Wasp nest removal must be done quickly and safely.
To protect yourself and your family from wasps, follow the eight steps below to ensure safe wasp nest removal.
1. Check to see if you’re allergic to wasps
The first step you need to take is to get an allergy test with your doctor to see if you’re allergic to wasps.
If your doctor finds an allergy, you should not have anything to do with wasp nest removal. You need to call an exterminator.
If you’re allergic and get stung by a wasp, this could be a very risky situation. Your life could be in danger.
So be sure to get someone else to handle removing the nest if you’re allergic.
2. Call your local vector control specialists
The vector control districts handle disease-carrying bugs so be sure to get in touch with these specialists.
The professionals can help identify an insect or animal and provide info on whether it’s dangerous to handle. The experts can give you tips on what to do and may even remove the bugs.
The easiest way to find these specialists is to do an Internet search for “vector control” in your neighborhood. You should be able to find contact info.
3. Put on protective clothing during wasp nest removal
In order to keep yourself safe, be sure to wear protective clothing that covers up every inch of your body.
It’s important to wear protective clothes when taking part in wasp nest removal because you want to avoid getting stung. Even for those who aren’t allergic, a wasp sting can be harmful and very painful.
Be sure to wear long pants such as jeans as well as socks and boots. You may want to wear a sweater, a hat, a scarf to protect your neck, and gloves as well.
You can also wrap the scarf around the bottom half of your face and wear ski goggles to protect your eyes.
If you’re going to spray with pesticides, be sure to wear old clothes since the toxic chemicals may enter the fabric. You will need to either wash the clothes immediately after the wasp nest removal or throw out the clothes in the trash.
4. Keep the area free of kids and pets
If you’re using pesticides to remove the wasp nest, be sure to section off the area and keep kids and pets away.
Pesticides are very dangerous and small children and pets will need to stay away from the area for at least 24 hours after spraying. Otherwise, your kids could be partially poisoned from the pesticides.
If you find any dead wasps in the area afterward, be sure to remove them immediately. This will ensure that any pets or local wildlife do not eat the poisoned wasp.
5. Come up with an escape plan
Before you actually move forward with removing the nest, you’ll need to create an escape route. You never know if a swarm of wasps will attack you so an escape route is essential.
When you spray the nest, the wasps are likely to start streaming out and may even try to sting you. You’ll need an escape plan to avoid being stung.
Your escape route should have a place where you can quickly hide out from the bugs. For example, if the nest is located on your porch, be sure you’re close enough to a doorway and your door is unlocked so you can escape back into the house immediately.
6. Use a pesticide spray to get rid of the nest
Go to your hardware or grocery store to purchase an aerosol pesticide spray designed to kill wasps. Other types of pesticides meant for smaller bugs may not be able to destroy the nest.
Then spray the bottom of the nest for 10 to 15 seconds. After you’re done, leave the area as quickly as possible. Let the spray take effect overnight.
The next day, check to see if there’s any activity still going on from the wasps. If so, repeat the procedure until no more wasps are seen buzzing around the nest.
When there is no more activity in the nest, it should be safe to take the next step. You can now knock down the nest using a long stick.
Use the stick to break up the nest and be sure to spray each individual piece with pesticide. Throw the nest and all dead wasps into the garbage and seal up the trash bags.
7. Keep wasps and other insects from coming back
During the winter, be sure to seal all entry points so that these bugs do not come back.
First, take a quick look on the outside of your house to check for any entry points for these insects. This may be a crooked vent, loose siding, or any cracks near door frames or window frames.
Seal off these locations during the winter to prevent any bugs from infiltrating your home during the warmer months.
8. Remove empty nests during the winter
It’s likely that a new colony of wasps could populate old, empty nests.
Get rid of any old and empty nests during the winter so a new colony of bugs doesn’t use these nests in the spring or summer. Knock down the old nests and clean the area to keep the bugs from coming back.
There you have it! These steps should help you deal with that wasp nest in your back yard.
Do you still have questions about removing a wasp nest? Ask our control experts by clicking here!

